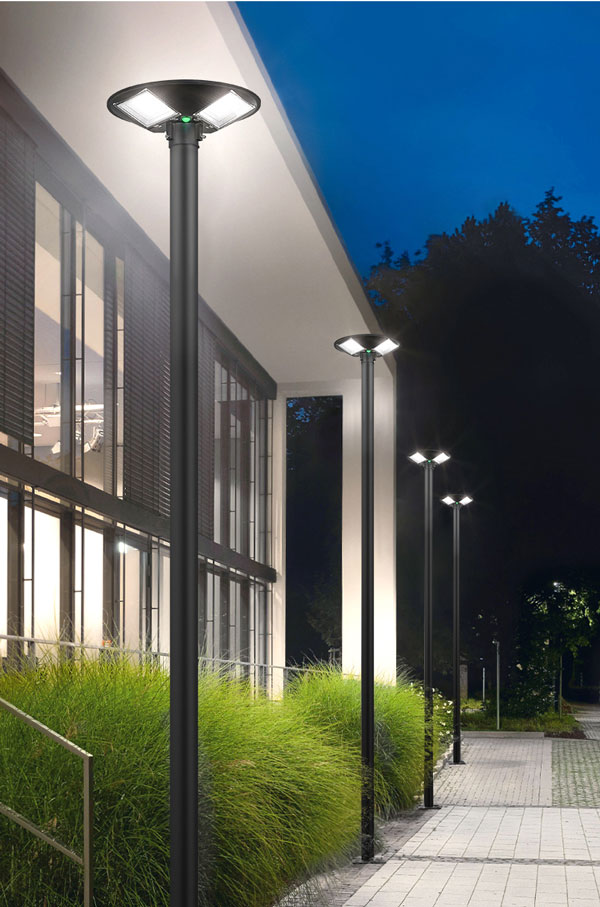
What are the installation standards for solar garden lights
What are the installation standards for Solar Garden Lights?
When installing courtyard lights separately, generally one independent photovoltaic system can be used for multiple courtyard lights, and one or more photovoltaic systems can be installed in a residential area. When using a 24V power supply system, the length of the wiring from the battery board to the light source should not exceed 110 meters. The following five aspects are basically carried out during normal installation.
1. Installation of Solar Garden Light battery panel: Determine the inclination angle of the solar panel according to the daily sun’s latitude, for example: choose 42 degrees locally and face south. Weld the bracket with 40*40 galvanized angle steel. The bracket is fixed on the side wall with expansion screws, and the steel bar with a diameter of 8MM is welded with a length of 1 to 2 meters. The bracket is connected to the lightning protection belt on the roof with steel bars. Punch holes in the bracket, and fix the battery board on the bracket with Φ8MM or Φ6MM stainless steel screws.

2. Solar garden lamp battery installation: first check whether the battery packaging is damaged, and then carefully unpack the packaging to check whether the batteries are in good condition; and check the battery’s factory date. The voltage of the battery installed is DC12V, 80AH, two of the same model and specification are connected in series to provide 24V power supply. Put the two batteries into the buried box (type 200). After the outlet of the buried box is glued, the protective tube (with steel wire water supply tube) is fastened step by step, and the other end of the protective tube is led out with silicone sealant Seal the mouth to prevent water ingress.
Digging the underground box digging size: adjacent to the base of the courtyard lamp, 700mm deep, 600mm long, and 550mm wide. The buried tank pool is usually surrounded by a single brick cement. The buried tank with the battery installed is placed in the pool, the line pipes are led out, and the cement board is covered. For the interconnection between the batteries, the polarity must be correct and the connection must be very firm. After the battery pack is connected, connect the positive and negative poles of the battery pack to the positive and negative poles of the power controller respectively.
3. Solar Garden Light controller installation: The controller adopts a dedicated controller for solar power. When connecting the wire, first connect the battery terminal on the controller, then connect the photovoltaic panel wire, and finally connect the load terminal. Be sure to pay attention to the battery. The photovoltaic panel and load + and-poles cannot be reversed, and the photovoltaic panel and battery connection wires cannot be short-circuited. The controller is placed in the lamp post, fixed with bolts, and the upper door of the lamp post is locked.
4. The base of the solar garden lamp base: concrete pouring, marking: C20. Dimensions: length 400mm*width 400mm*depth 500mm, embedded screw inspection M16mm, length 450mm, with two Φ6mm reinforcing ribs in the middle.
5. The laying of Solar Garden Light wires: all the connecting wires used are through pipes, which can be led down from the roof of the building, can be led down from the threading well, or from the floor along the downspout, and the roof and off the line use ø25mm threading pipe, underground Ø20mm threading pipe is used for routing, and pipe joints, elbows, and tees are used for the connection of the threading pipe, and sealed with glue. Use metal water supply hoses to connect in special places for waterproofing. Jiangsu Qiandu Lighting mostly uses BVR2*2.5mm2 sheath wire as the connecting wire for Solar Garden Lights.